
While finishing up the actual blueprints for the TOS Enterprise I want to shift the focus of this blog toward the actual construction of the new model and a few ancillary topics relative to construction. Additionally, I'll be comparing some of the existing prints with what I've been working on as well as comparing some of the differences between the physical models. After studying the screen captures, photos of the physical model, the Smithsonian dimensions etc... I came up with a profile the I feel confident is wholly accurate to the engineering hull, I then went back and compared that profile to the Sinclair and Casimiro profiles. I overlayed a section of Sinclair's cutaway to highlight the differences. I sized that profile up to the scale I'm working in and used it in the last post to come up with a conical form to create the primary section of the engineering hull using the same methods that I developed to create the 1/350th scale ship. This time around I used a finer, more flexible, higher quality mesh to begin construction. Using the simple compass that I discussed in the last post I cut out a flat for building up the upper and lower halves of the primary hull, this too is the same method I used to build the 1/350th, but again with higher quality, more substantial materials. When I built my first scratch built project I wanted to use the cheapest, easily affordable materials available to virtually anyone. I wanted to show that you don't have to have an entire facility full of high dollar, precision equipment to be able to come up with a reasonable representation of the Enterprise. The last time I used paper, tape, glue, fiberglass and Bondo. I'm essentially using the very same method with only slightly higher quality materials, this is in part due to time constraints and the size of the project involved. "Insanity: doing the same thing over and over again and expecting different results." Albert Einstein. I feel the opposite is also true, if something works the first time then there's no reason not to do it the same way, with the caveat that you learn from your mistakes and refine your process.
I'll come back and show more of this process later, however I will have to refer back to the construction of the original 1/350th ship. Unfortunately I was making progress and didn't have the time to take stage by stage photos.
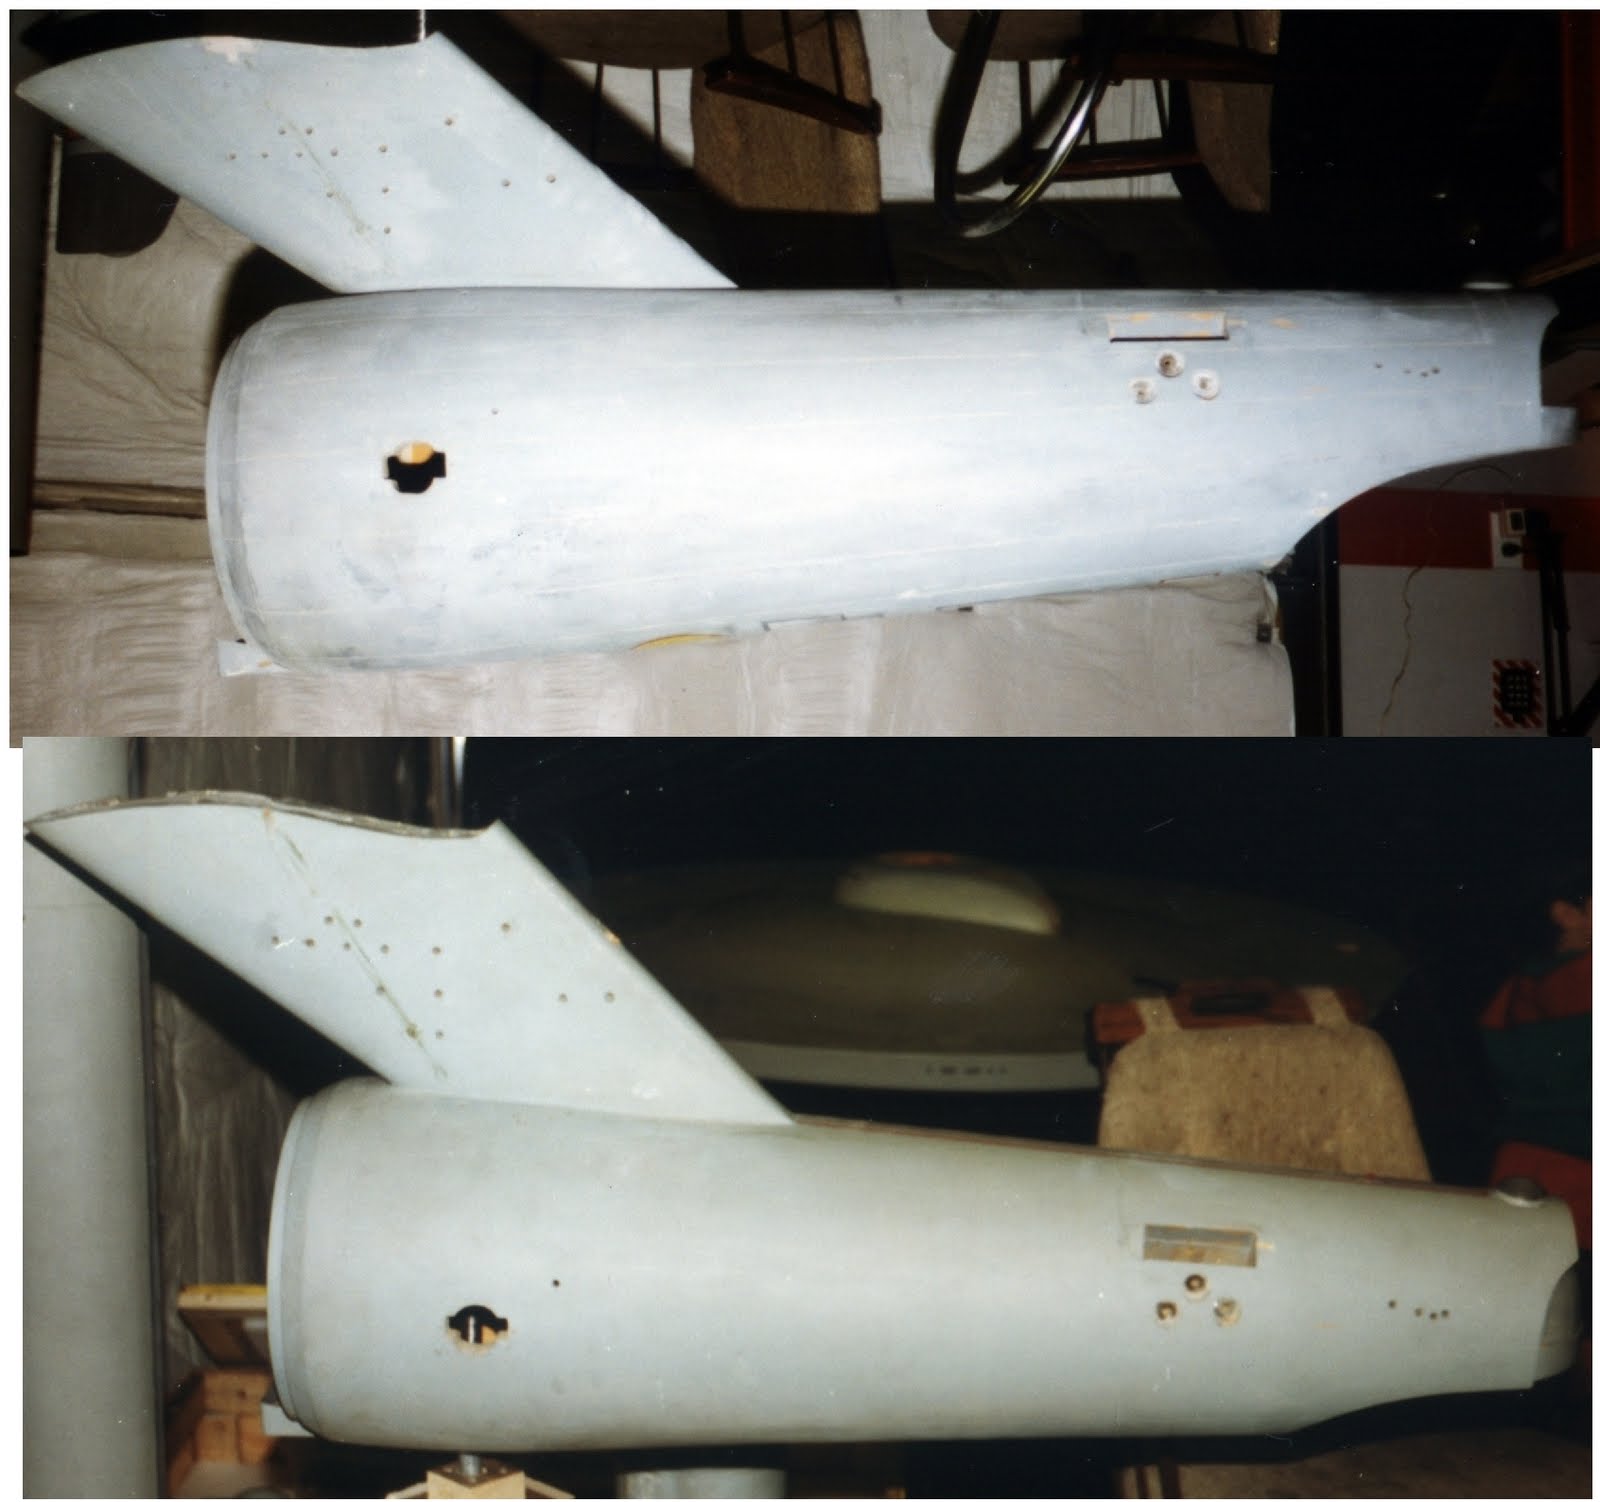
I want to move into construction of a basic vacuum table and some basic electronics in the next couple of posts. In the mean time I've uploaded some more reference shots of the various incarnations of the ship.


No comments:
Post a Comment
Note: Only a member of this blog may post a comment.